How to Make Stunning Paper Mache Lamps for Your Home
Paper mache lamps are a beautiful way to add warmth, texture, and handmade character to your home. They create a soft ambient glow and bring an artistic, handcrafted feel to bedrooms, living rooms, reading corners, and creative interiors.
If you enjoy handmade decor, this project is a wonderful way to create something practical and decorative at the same time. A well-made paper mache lamp can look elegant, unique, and deeply personal.
What Is Paper Mache?
Paper mache is a classic craft technique made by layering paper with a paste, usually prepared from flour and water or glue. Once dry, the material becomes firm enough to shape into decorative objects such as bowls, masks, sculptures, and lamp shades.
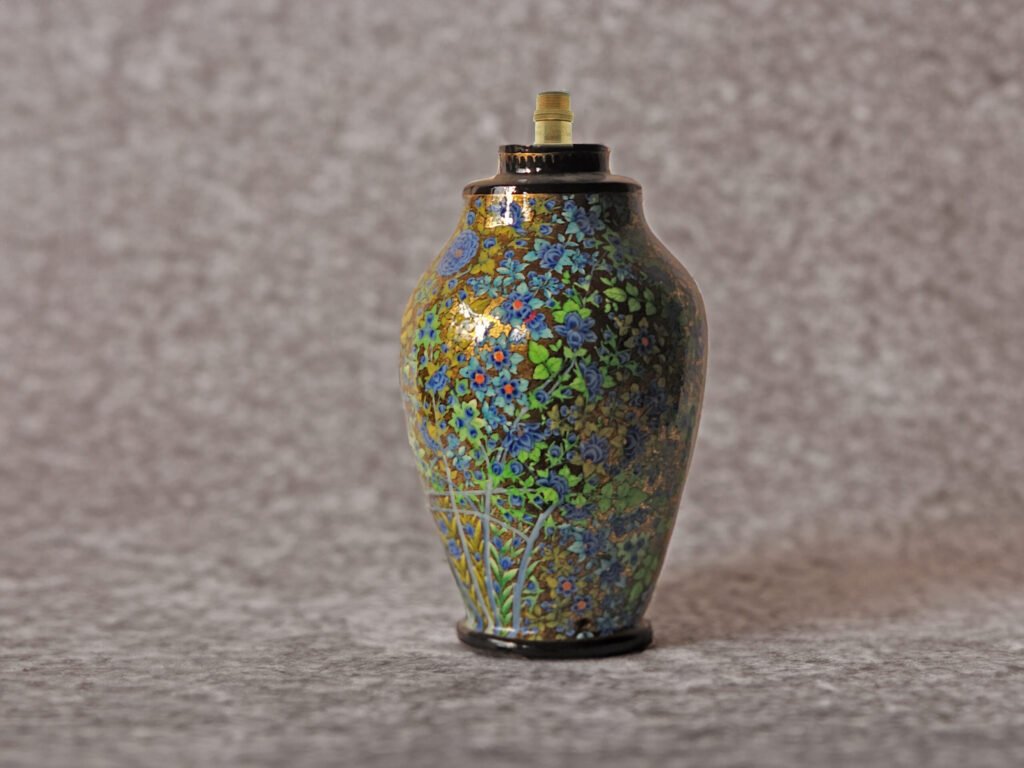
For lamp making, paper mache works especially well because it can be molded into round, oval, or sculptural forms. It also gives you complete freedom to paint the surface with floral, traditional, antique, or Kashmiri-inspired designs.
Materials Needed
- Newspaper, tissue paper, or recycled paper strips
- All-purpose flour
- Water
- A balloon or lampshade frame
- A mixing bowl
- Scissors
- Paintbrushes
- Acrylic paints
- Clear varnish or Mod Podge
- LED light kit, LED bulb holder, or LED string lights

You can also explore more handmade lighting ideas in our illumination collection.
Step 1: Prepare the Paper Mache Mixture
In a bowl, mix equal parts flour and water until you get a smooth paste. The mixture should be thick enough to coat the paper strips evenly, but not so thick that it forms lumps.
Stir well until the paste feels smooth and easy to spread. If needed, add a little more water for a lighter consistency.
Step 2: Inflate the Balloon or Prepare the Frame
Inflate a balloon to the size you want for your lamp, or use a ready-made lampshade frame if you prefer a more structured shape. The balloon method is simple and works well for round or oval lamps.
Make sure the balloon is tied securely and placed in a stable position before you begin layering the paper.
Step 3: Layer the Paper Strips
Dip each strip of paper into the paste and remove any excess mixture with your fingers. Lay the strips over the balloon or frame, overlapping them to create a strong structure.
Continue covering the entire surface while leaving an opening for the light fitting. Build several thin layers instead of a few thick ones for a cleaner and stronger finish.
Step 4: Let It Dry Completely
Allow the paper mache structure to dry naturally. Depending on humidity and thickness, drying may take several hours or even overnight.
Do not rush this stage. A fully dried shell is much stronger and easier to cut, paint, and decorate.
Step 5: Remove the Balloon
Once the shell is completely dry, carefully pop the balloon and remove it from inside. You will now have a hollow paper mache form ready for finishing.
Trim the edges if needed so the lamp opening looks neat and balanced.
Step 6: Paint and Decorate
This is the most creative part of the project. Paint your lamp in any style you like, from simple minimal finishes to floral, antique, or richly detailed patterns.
If you want a handmade luxury look, try deep blue, gold, ivory, black, or soft earthy tones. Traditional motifs and fine brushwork can make the lamp feel even more elegant.
Step 7: Seal the Surface
Once the paint is dry, apply a clear protective coat such as varnish or Mod Podge. This helps protect the lamp from dust, minor moisture exposure, and surface wear.
Let the sealant dry fully before installing any lighting.
Step 8: Add the Light Source
Insert your lighting kit or LED string lights carefully through the opening. Arrange the wires neatly so the inside looks clean and the light source stays secure.
If you are using a bulb holder, make sure the bulb does not touch the paper surface.
Step 9: Display Your Handmade Lamp
Once everything is dry and assembled, place your lamp in the perfect spot at home. A finished paper mache lamp looks beautiful on a side table, console, shelf, or bedside corner.
The final result is both decorative and functional, bringing a warm glow and handmade charm into your living space.
Styling Ideas for Paper Mache Lamps
- Use floral motifs for a classic handcrafted look.
- Choose deep blue and gold for an elegant traditional finish.
- Keep the shape simple if you want a modern minimal interior style.
- Group two or three lamps together for a softer decorative lighting effect.
Final Thoughts
Making a paper mache lamp is a rewarding craft project that combines creativity, decoration, and practical design. With the right materials, careful drying, and thoughtful painting, you can create a lamp that feels truly special.
For more handcrafted lighting inspiration, visit our Mughal Arts illumination collection and discover decorative lamp bases with artistic character.
Explore Authentic Kashmiri Papier Mache
Discover handcrafted decor, gift pieces, and traditional art made by skilled artisans in Kashmir.
Follow our latest handmade creations on Instagram @mughalarts_com and check our external customer feedback on Etsy reviews.